Sponsored Review
Last weekend, Joey was invited to a very interesting workshop - She was going to learn how to make her own pinhole camera!
Organised by Npower Education, this workshop teaches children to make a simple pinhole camera using simple materials. The teacher also taught the children simple science theories of how a camera works, and how the materials are great substitutes for real parts in a camera. Pretty interesting for me, but I am sure the children don't understand everything that was mentioned. It was fine though, because the fun really begun when they started making their cameras.
Joey was in a pink polka-dotted dress, and it totally matched the red polka-dotted box provided, which was the body of the camera.

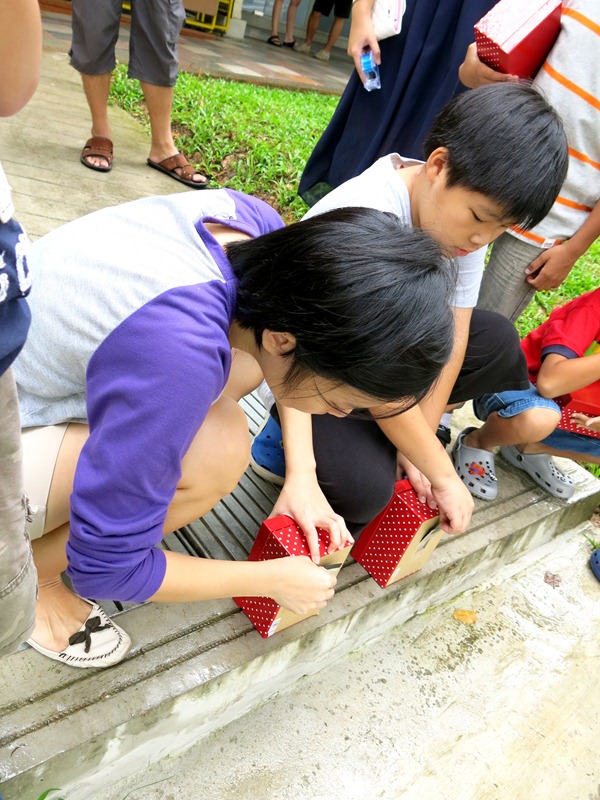
The teacher led the children through step-by-step. First, they had to draw a square on the bottom of the box, then cut out the square using a pen knife. Most of the children couldn't really handle a pen knife well enough, so the older kid in class - a Primary 4 kid, helped the younger ones for this part. :)
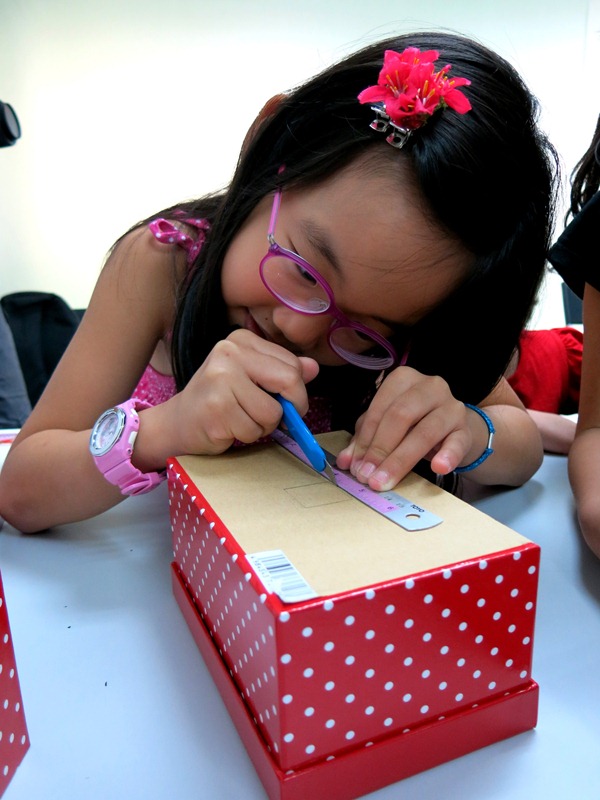
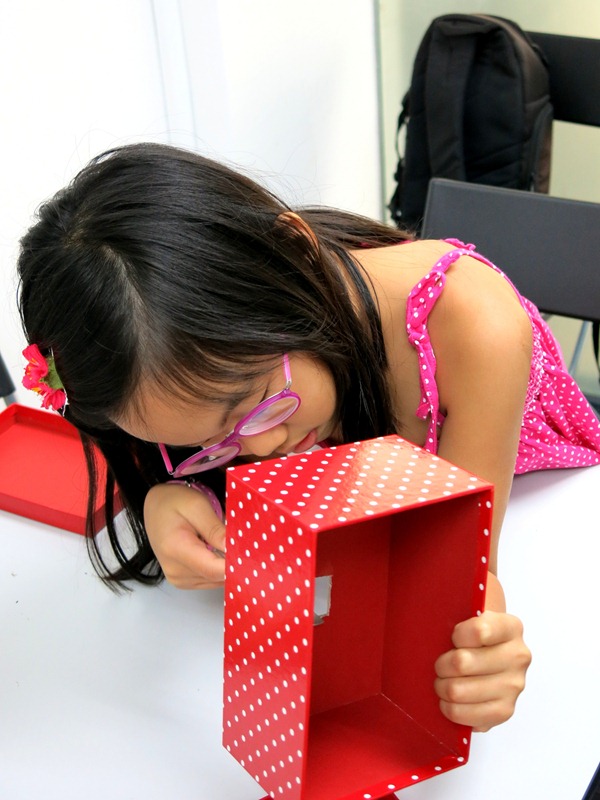
Nicely cut out!
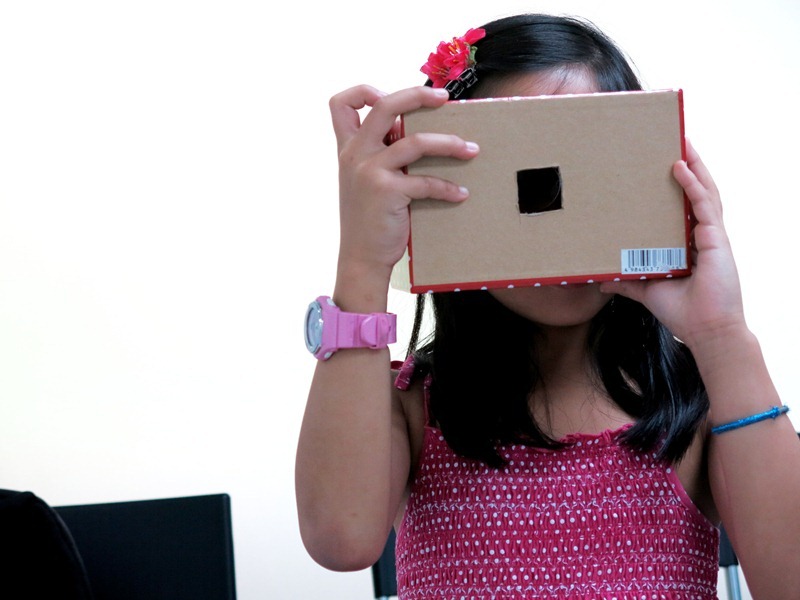
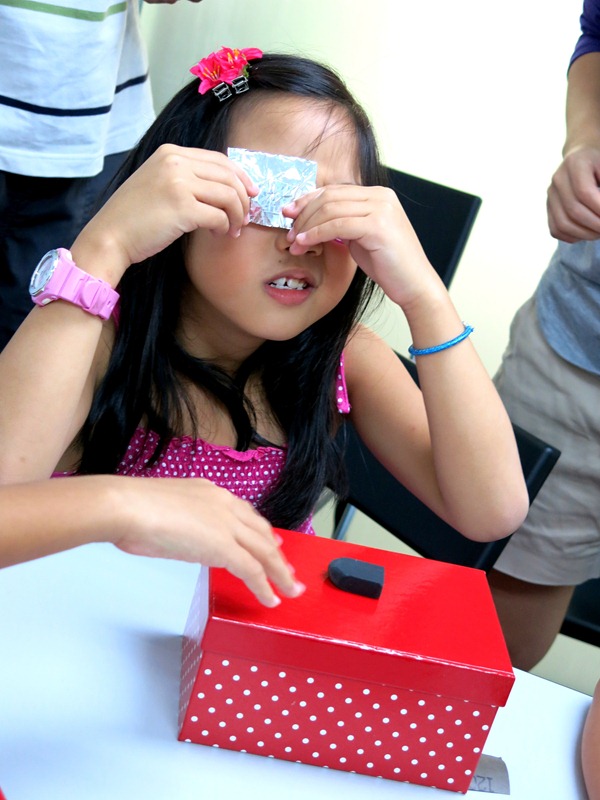
Then the children were each given a piece of aluminium foil, and a needle to poke a pin hole in the foil. This was going to be the hole from which light would pass through when taking photos later on. (It's a pinhole camera, geddit??)
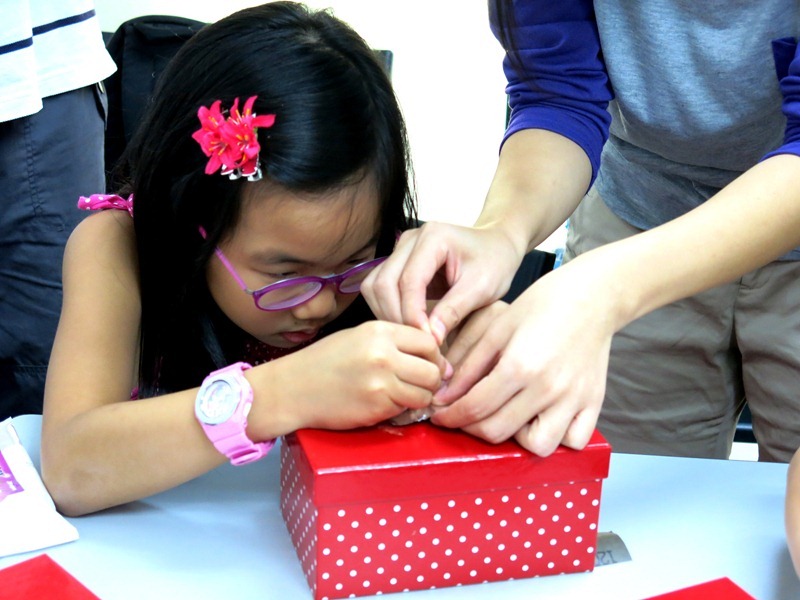
I thought a pinhole was really small, but surprisingly, I could look through the pin hole!
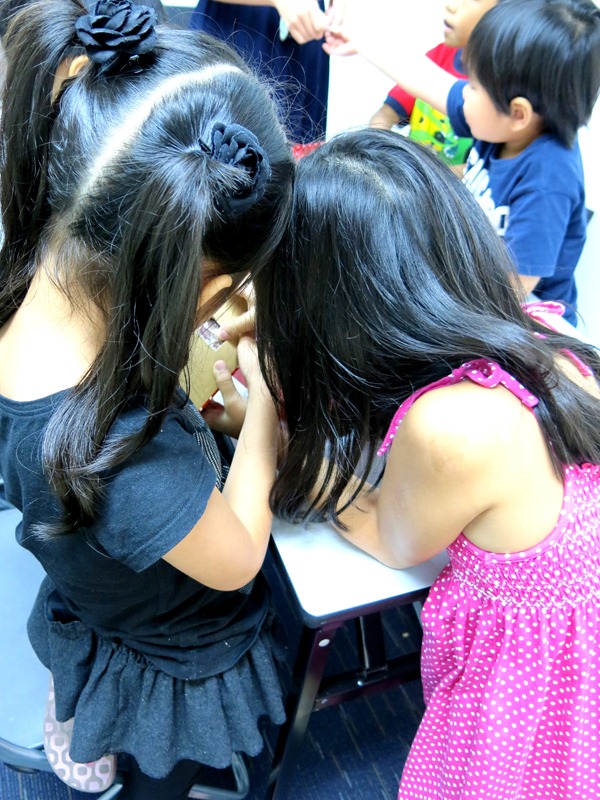
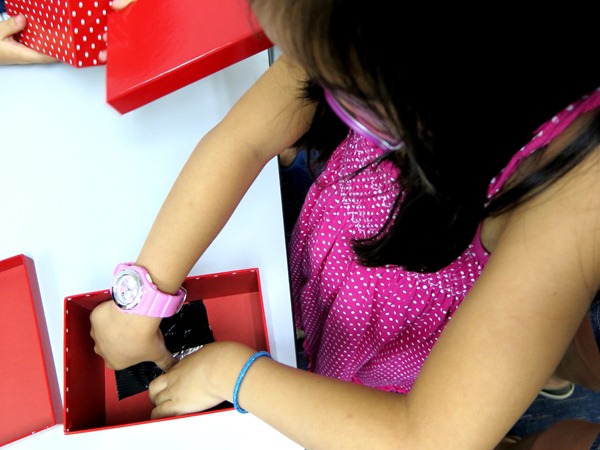
For some parts, the children had to help each other. Especially for the last few stages, the children helped each other to secure the aluminium foil onto the box with masking tape.
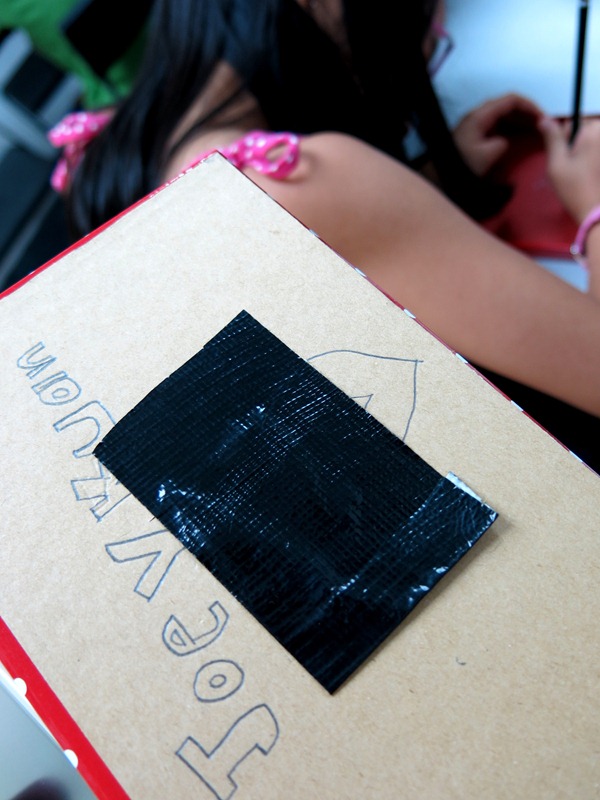
The final step before going into the dark room was to write their names on their cameras.
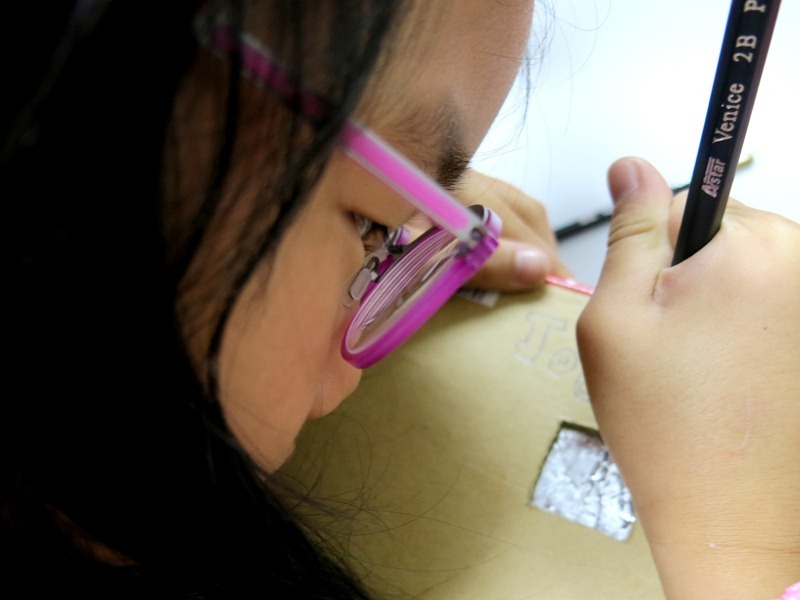
Admittedly, the completed camera didn't look aesthetically attractive. And I had my doubts that it would really work at that point. Too simplistic in my opinion! Would the shots really come out??
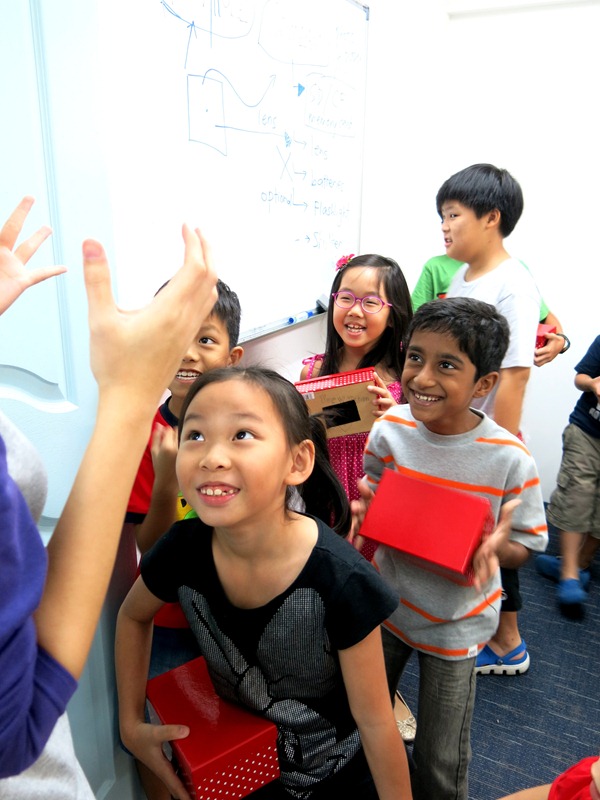
Look at how happy the children were - Everyone couldn't wait to go into the dark room!!
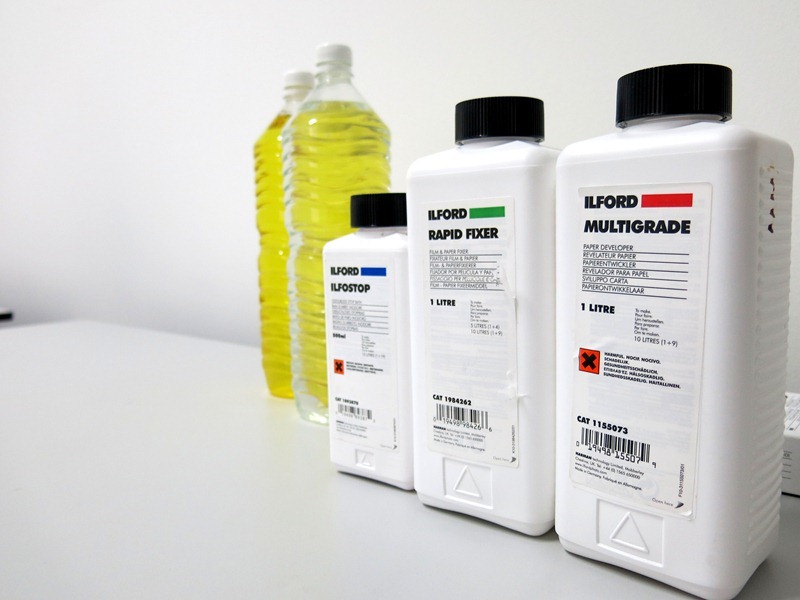
The dark room was set up with containers for the various developing solutions. I didn't know I would ever have a chance to witness how photographs were processed in the dark room - So retro!
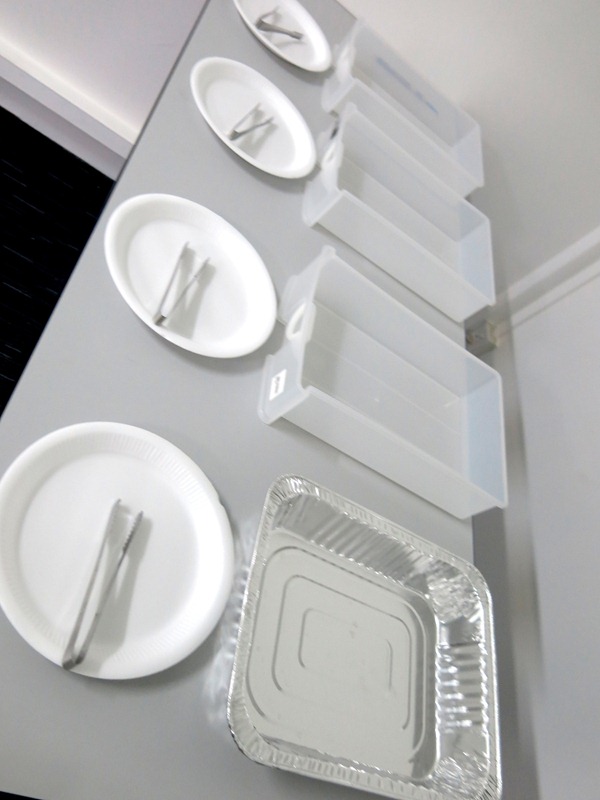
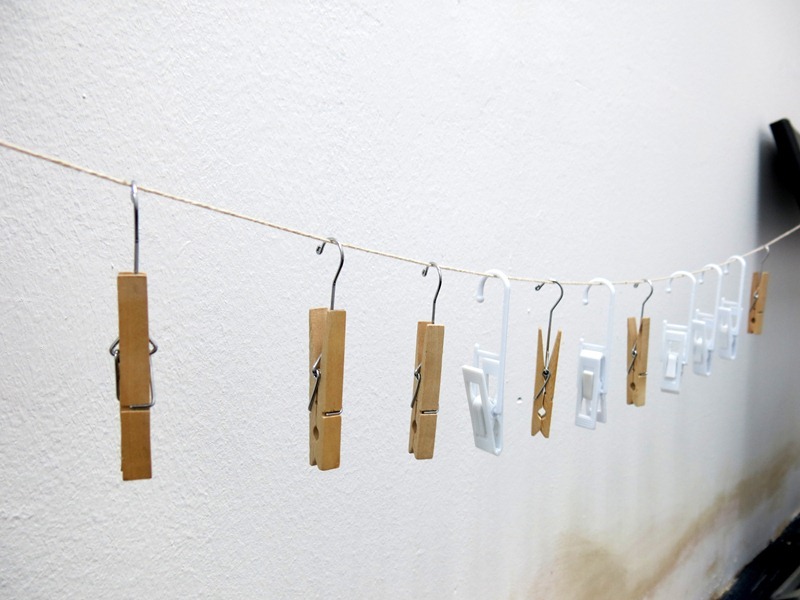
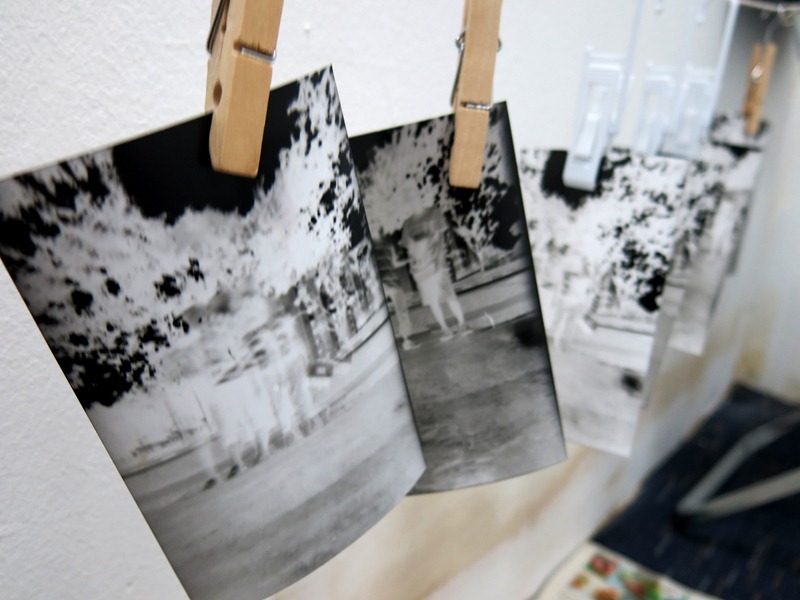
And the pegs were ready waiting for the photographs! :)
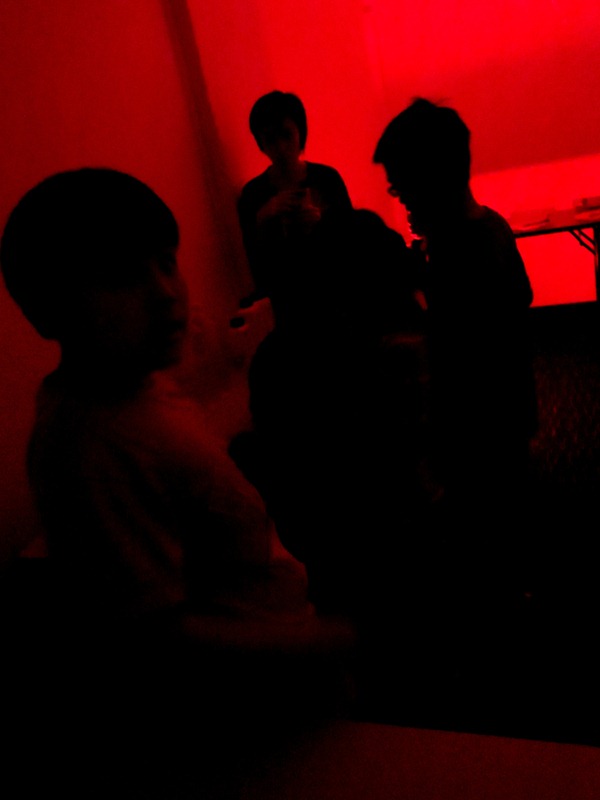
I managed to sneak a shot in the dark room when the lights were switched off, leaving only a red light on. I was immediately warned that any source of light would cause much damage. =P There, the teacher helped to paste a piece of photo paper onto the interior of every camera. Thereafter, the camera was taped shut so that no light could enter the camera before a shot was taken.
Then the really fun part begun! The children were brought outdoors to take their photographs!
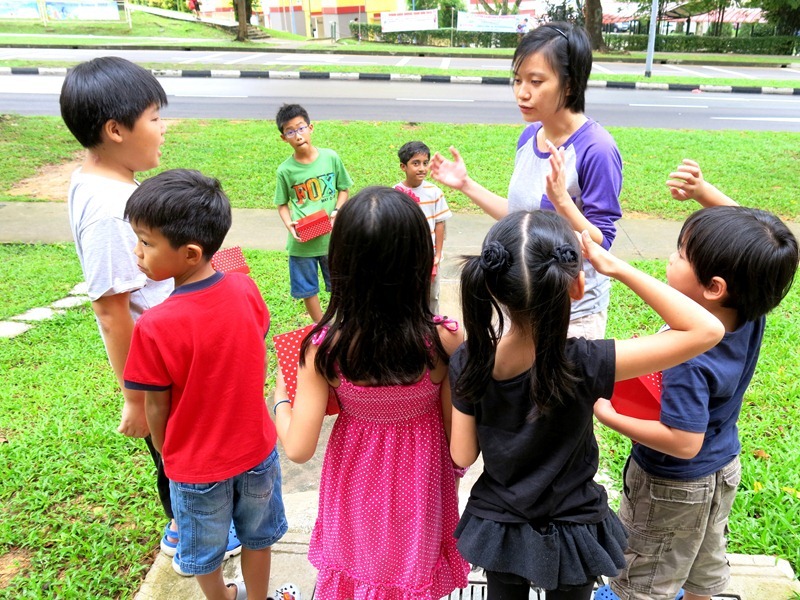
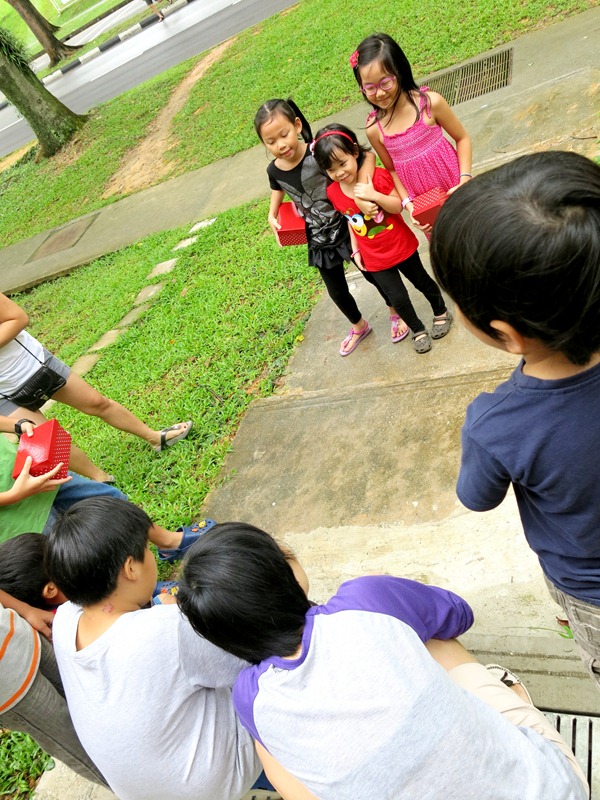
The children took turns to pose for each other to take their shots. The simplistic pinhole camera allows only one shot to be taken. To take a second shot, another photo paper must be pasted into the camera in the dark room again.
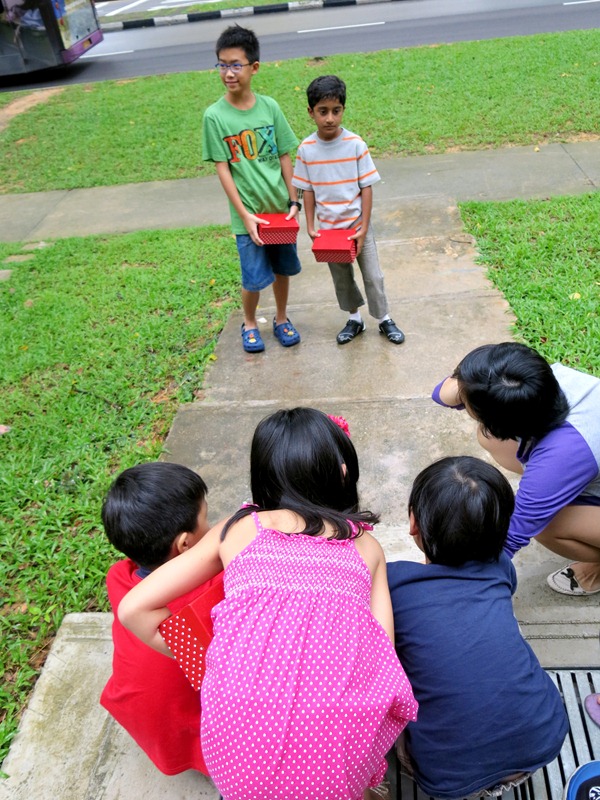
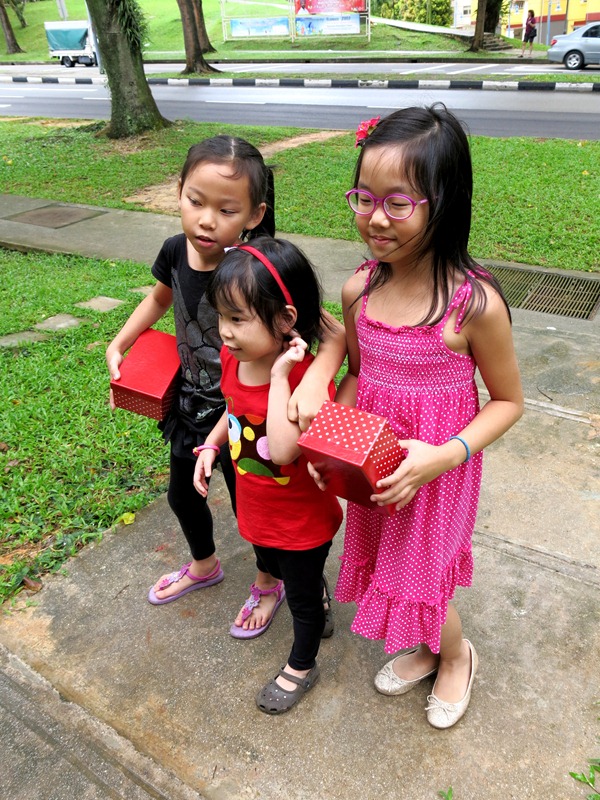
See how we tried to balance the cameras on the floor? That's to prevent the camera from being shaken while the shot is being captured. To get a shot taken, the black tape covering the pinhole had to be removed for 30 seconds, then closed back again. The 30 seconds would allow light to flow into the cameras and be captured on the photo paper. If the light source is not so strong, the hole should be exposed for a longer period of time.
Then it's back to the dark room to develop the children's photographs!
And this was the final stage when the photo went through the various developing solutions and images were developed. Light were switched back on and we saw the final product!
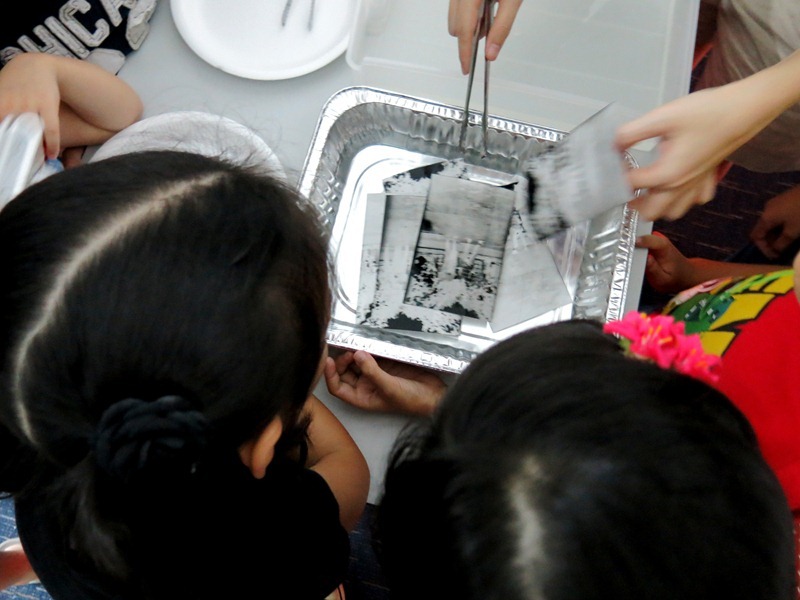
The photos were all in black and white, and I thought they looked pretty cool! The teacher explained that coloured photography would require a special type of photo paper, only available in the United States. The developing solutions would also be very different, and coloured photo processing could only be done in professional setting. I thought it was better for the children to take black and white photographs - They really looked cool!
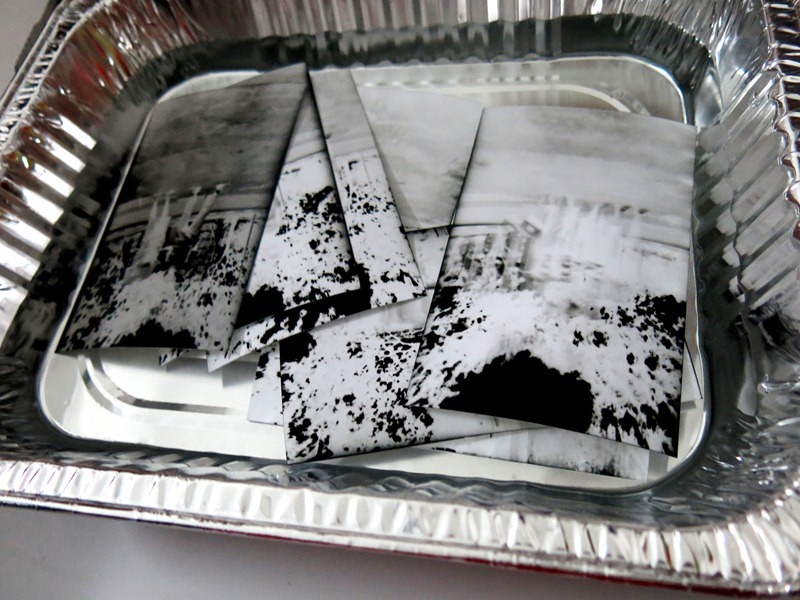
Of course, all the models turned out very blur - How to expect children (or anyone at all) to stand still and not move for 30 seconds?! Haha.. The silhouette of the trees turned out much more defined because the trees stood quite still. =P
It was a really cool workshop, I must say. The children went home with their pinhole cameras and photographs, mightily proud that they had produced something so fun! Thank you Npower Education for inviting us! :)
* * * * *
DISCOUNT CODE!
If you are interested to sign up for this Build A Camera workshop, Npower Education has kindly agreed to give a 20% discount if you quote 'kless20' during the checkout. The usual price for the workshop is S$45, inclusive of all materials. The following are the upcoming workshop dates for your planning purpose!
24 February 2013 (Sunday), 10am to 1pm
2 March 2013 (Saturday), 930am to 1230pm
2 March 2013 (Saturday), 1pm to 4pm
9 March 2013 (Saturday), 930am to 1230pm
16 March 2013 (Saturday), 10am to 1pm
16 March 2013 (Saturday), 1pm to 4pm
23 March 2013 (Saturday), 930am to 1230pm
23 March 2013 (Saturday), 1pm to 4pm
30 March 2013 (Saturday), 930am to 1230pm
30 March 2013 (Saturday), 1pm to 4pm
* * * * *
GIVEAWAY!
Good news! Npower Education will be giving away two workshop passes to The J Babies readers! The workshop is suitable for children between 6 to 12 years old, so if you have children in this age group or have friends who have children who might be interested, join in this giveaway! =) Just follow the steps to qualify:
Mandatory:
Leave me a comment on this blog post or drop me an email at , telling me why you would like to win a workshop pass.
Not Mandatory but Nice to Do:
Like The J Babies facebook page
Like and share this blog entry
Closing date for submission: Sunday, 24 Feb 2013, 10pm.
Looking forward to your submissions! :)